



How Long Do Dried Beans Actually Last?
How Long Do Dried Beans Actually Last? (And Why Most Bags on Shelves Are Already Past Their Prime)
You've asked us this one a hundred different ways. How long will these beans keep? Do they go in the fridge? Why did my last pot take three hours when the recipe said ninety minutes? All fair questions. All deserve better than a shrug and a "beans don't really go bad."
Here's the thing: beans don't go bad in the food-safety sense. Dried correctly, they won't make you sick seven years from now. But "safe to eat" and "worth eating" are two very different things, and freshness is the whole reason our beans taste like something.
What "Fresh" Even Means for a Dried Bean

A bean is a seed. Harvest it, dry it down, and it goes dormant, but dormant isn't the same as frozen in time. From the moment it leaves the field, it's slowly losing moisture and undergoing small chemical changes inside the cell walls. Slowly is the operative word. Under good conditions, that clock ticks for years. Under bad conditions, it sprints.
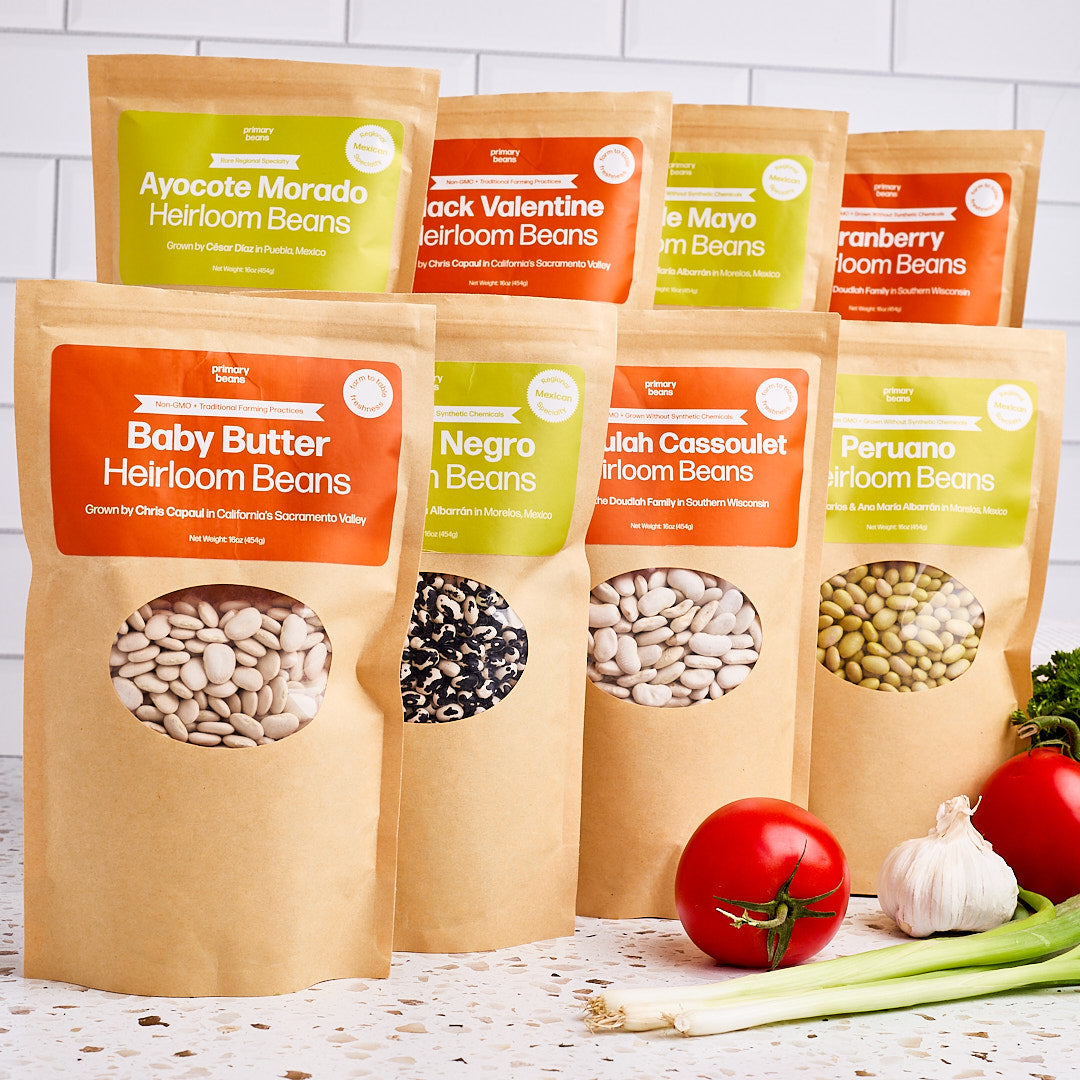
Most commodity beans on a grocery shelf have no harvest date on the bag, because nobody's tracking it. They can sit in a warehouse, a distribution center, and then your pantry for five, sometimes ten years before anyone cooks them. Every one of our bags tells you the farm and the harvest date, because we think you deserve to know what you're buying, and because it's the single biggest lever we have over how your beans will actually cook.
The Real Enemy: Heat and Humidity, Not Time Alone
Food scientists have a name for what happens to badly stored beans: the hard-to-cook defect. It's not folklore, it's a documented phenomenon, and it explains almost every "my beans never got soft no matter how long I simmered them" complaint we've ever heard.
Here's roughly what's happening. Inside the bean's cell walls, pectin normally breaks down cleanly when you cook it, which is what lets the bean go from bullet to creamy. But stored somewhere hot and humid for months, calcium and other minerals start cross-linking with that pectin, and the cell walls stiffen up, sometimes permanently. Cook it for four hours and it still won't fully soften, because the structure holding it together has changed at a level no amount of simmering can undo.
Translation: it's not your pot. It's not your altitude. It's not that you forgot to say a prayer over the pressure cooker. It's that the bean sat somewhere warm and muggy for too long before it ever got to your kitchen.
How to Store Beans Correctly

The fix is almost insultingly simple: a cool, dry pantry. That's it. That's the whole system.
A quick correction to advice you'll see floating around: skip the fridge and skip the freezer. Those are the right call for whole grains, but beans are a different story, cold storage pulls moisture out of a dry bean, and moisture is exactly what you want it to hold onto until you're ready to soak and cook it.
The actual enemy is sunlight. UV exposure darkens beans and dulls their flavor over time, which is why our bags have a small window instead of one big one, enough to let you admire the beans, not enough to let the sun get at all of them for hours a day.
- Keep them in the bag. The original packaging is doing its job. No need to transfer beans into a fancier container unless you want to.
- Cupboard or pantry, out of direct light. Anywhere cool and dark works. A kitchen cabinet, a pantry shelf, the inside of a drawer, all fine.
- If you're storing a lot of bags, a metal bread box does double duty. It blocks light completely and keeps the original packaging, harvest date and all, intact, so you can see at a glance which bag to cook next.
- Cook in harvest-date order. Oldest bag first. It's a small habit that keeps everything in rotation instead of quietly aging in the back.
One more thing, and this might sound counterintuitive coming from a bean company: we're not big fans of the giant bean stockpile. If your pantry is stacked ten bags deep, you're always eating down the pile instead of eating what's actually fresh. And truly fresh beans are a revelation. Buy what you'll cook in a reasonable window. Let the next harvest come to you.
How to Tell If Beans Are Old
Trust your pot more than your eyes here, and definitely more than one popular kitchen myth.
Myth to retire: floating beans mean old beans. You'll see this "instruction" everywhere, soak your beans, skim off anything that floats, discard. It's not really about age. A bean floats because it's lower density than water, and that's almost always because it's immature or underdeveloped, not because it's old. An entire field doesn't ripen on the same schedule, and within a single pod, one bean can simply fail to fill out properly. That's not a defect in our process, it's just how a plant works. We sort for it, but a small number always slip through, including in beans harvested last month. A few floaters in an otherwise beautiful batch is normal, not a red flag.
What actually tells you a bean is old: cook time. If you've soaked properly, salted your water, added your kombu, and the beans are still stubbornly toothy well past when they should be done, storage conditions and age are almost always the reason, not your technique, not your altitude, not bad luck.
This is also why freshness is non-negotiable for Primary Beans. Southwest Gold, Medianoche, Cannellini, whatever's in the bag, the farmer and the harvest date on the label aren't decoration. They're the reason your pot of beans takes ninety minutes instead of four hours, and comes out creamy instead of chalky.
How to Cook Fresh Beans

Beans are at peak freshness within the first two years of harvest. Cooking them at this stage is genuinely simple. Here's the short version:
- Soaking is optional. It cuts cook time, but fresh beans don't need it.
- Salt your water from the start, the same way you'd salt pasta water. It softens the seed coat and seasons the bean from the inside out, it does not toughen them, whatever your grandmother told you.
- Add a strip of kombu. It softens the skins and deepens flavor.
- Boil for 5 minutes, then simmer. Cover and check every 30 minutes. Most varieties are done in 1–3 hours; big ones like Ayocote or Christmas Lima can take longer.
- Hold the acid. No tomatoes, vinegar, citrus, or wine until the beans are fully tender.
Every method, stovetop, pressure cooker, slow cooker, is a variation on that. For the full breakdown, including exact timing by method, read our Guide to Cooking Heirloom Beans.
How to Cook Old Beans
Beans more than a couple years old aren't a lost cause, they just need a longer runway.
Start the same way you always should. Pour the beans out onto a tray or a large shallow bowl before you do anything else, and pick through for stones, runty or shriveled beans, and any stray field debris. Give them a good rinse.
Soak in salted water, not baking soda. 1–2 tablespoons of salt per pot of soaking water is plenty. You'll see plenty of advice to add baking soda to an old, stubborn batch of beans, and we'd steer you away from that, with one exception: chickpeas headed for hummus. Baking soda raises the pH of the soaking or cooking water, which breaks down the pectin holding a bean's skin together. For chickpeas, that's exactly what you want, the thin skins are what keep hummus from going silky, so encouraging them to slip off is a feature. For a pot of whole beans you're planning to actually eat as beans, it's the opposite of what you want. We get emails fairly regularly from people whose bean skins fell apart during soaking or cooking, and it's baking soda every time.
Soak for a full 24 hours. Give old beans the longest end of the soaking window, not the shortest.
Expect a longer cook, and don't try to pin down exactly how much longer. It genuinely depends on how humid the storage conditions were, how hard your water is, and how hot you're running things, too many variables to give you a number that would actually hold up. If you're using an Instant Pot, start with 30 minutes and check from there; older beans often need more. Stovetop is your best bet for beans on the older side, since you can check and adjust as you go. Bring the pot to a boil for 5 to 10 minutes to get things started, then drop it to a simmer.
And never add acid until the beans are fully tender. Tomatoes, vinegar, citrus, wine, any of it added too early will lock the beans exactly where they are, old or not. This rule has no exceptions, and it matters even more with a batch that's already working against you.

The Easiest Fix: Don't Let Them Sit
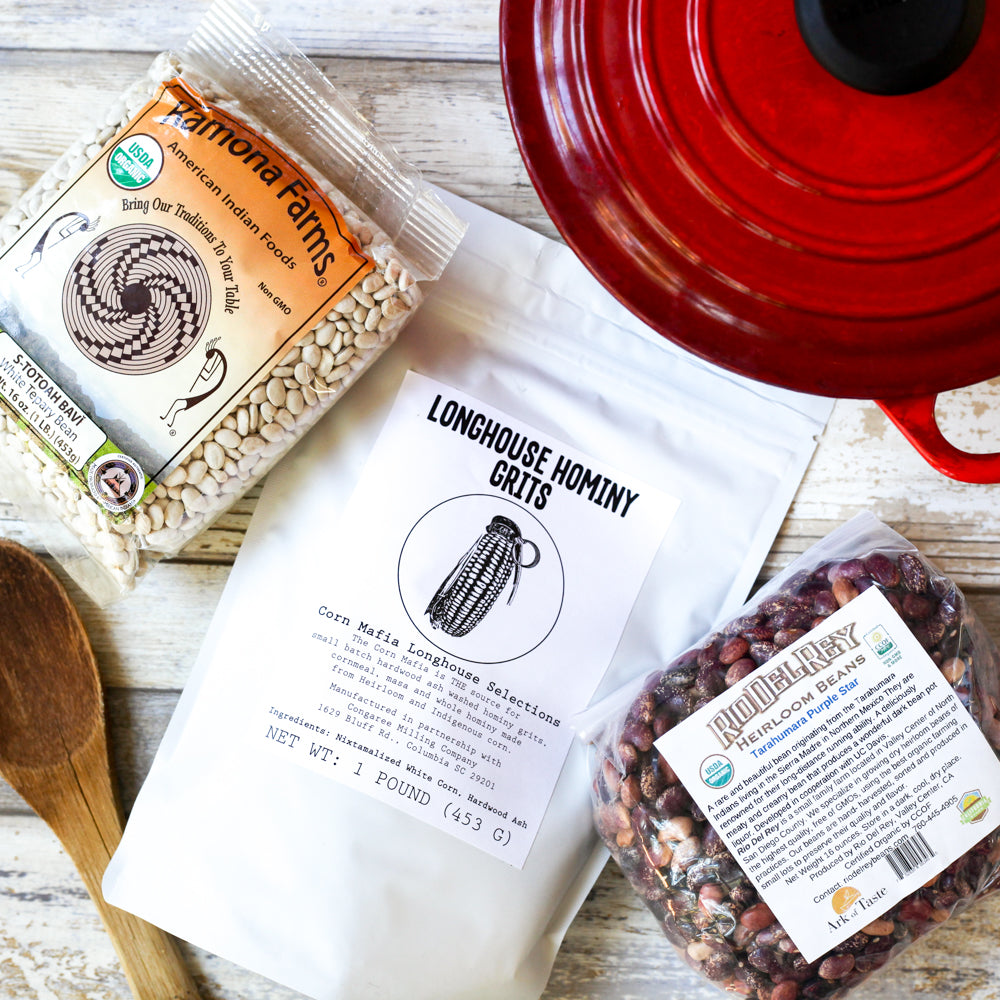
If you want to stop thinking about any of this, the Heirloom Bean + Grain Club solves it by design. You get beans on a schedule that matches how you actually cook, straight from harvest, so there's no bag quietly aging in the back of your pantry while you forget it exists. Freshness stops being something you have to manage and just becomes the default.

The Heirloom Bean + Grain club
Learn More
Get impossible to find beans and grains shipped direct to your doorstep each month from small family farms.


Support small family farms
Shop Now
We support small, family owned farms across the nation. Did you know that farmers only make an average of 10 cents on every dollar you spend at the supermarket? Working directly with farms and not middle men ensures that more money goes back to the people actually growning your food.