


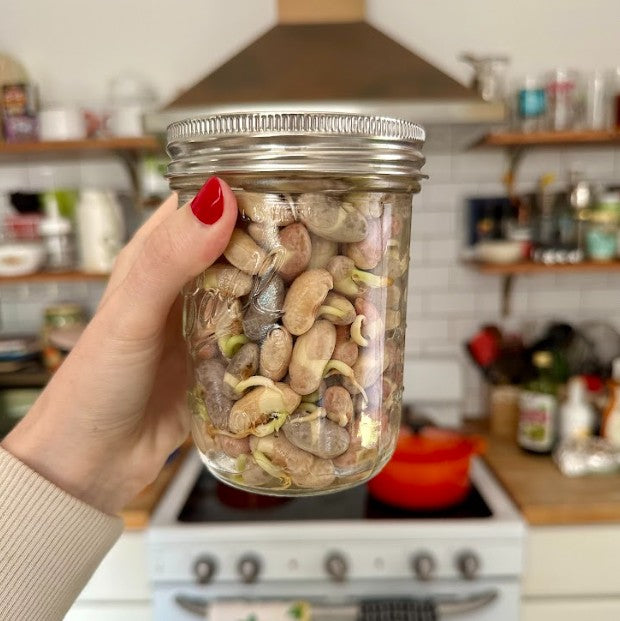

How to sprout beans

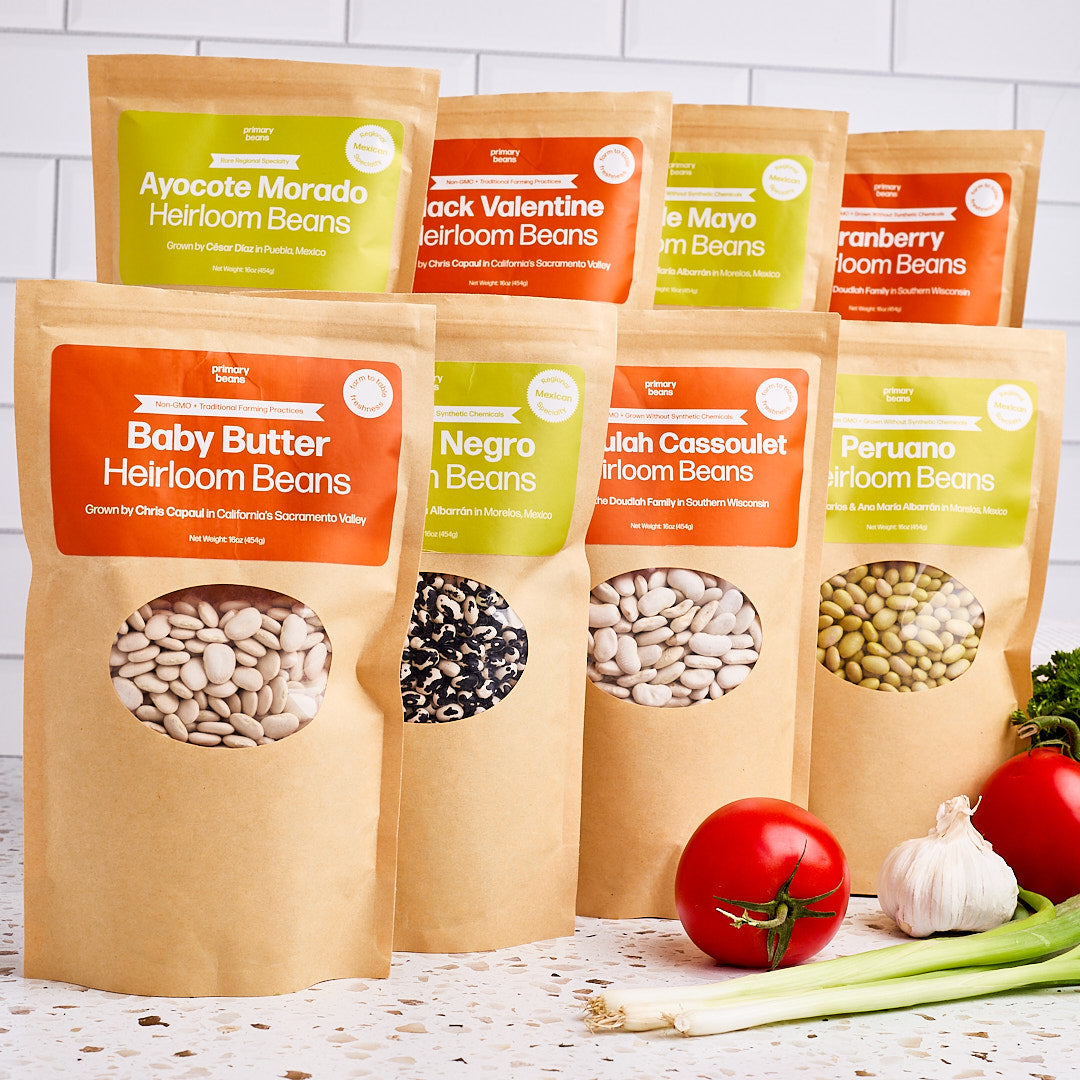
The Heirloom Bean + Grain club
Learn More
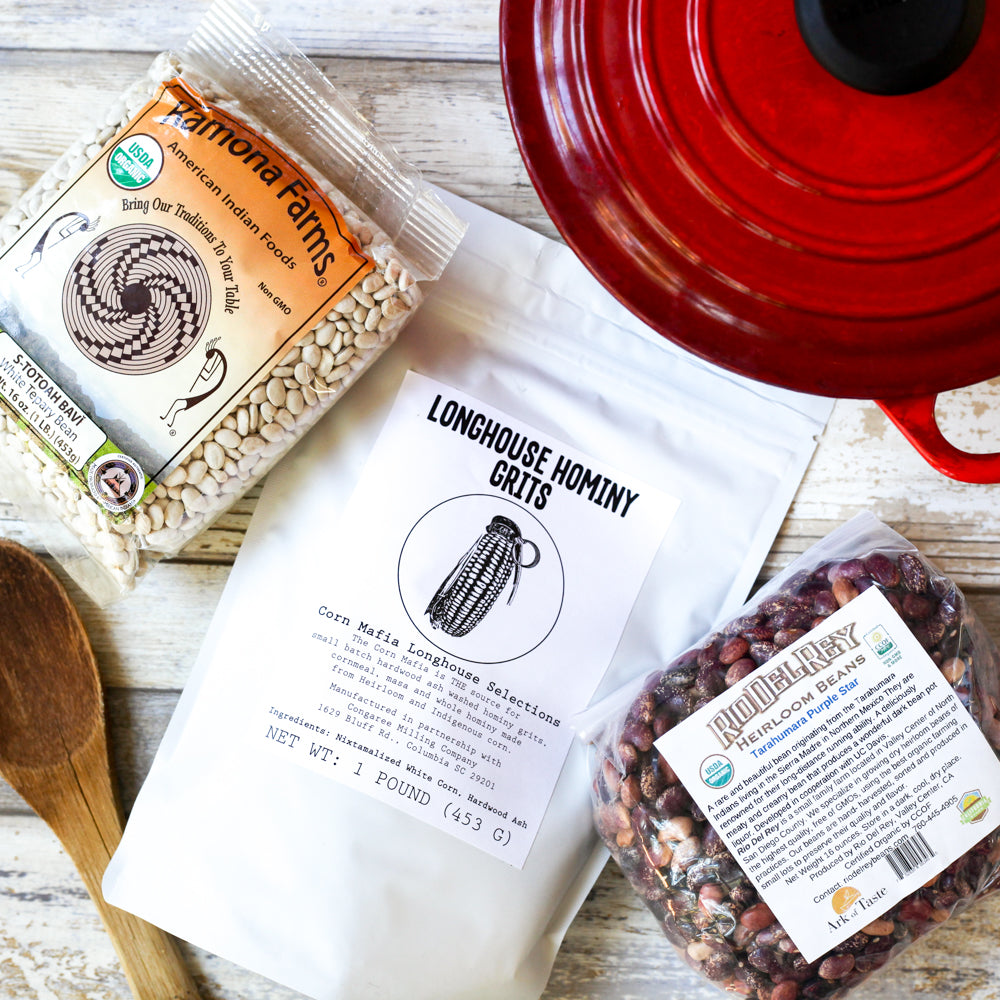
Get impossible to find beans and grains shipped direct to your doorstep each month from small family farms.
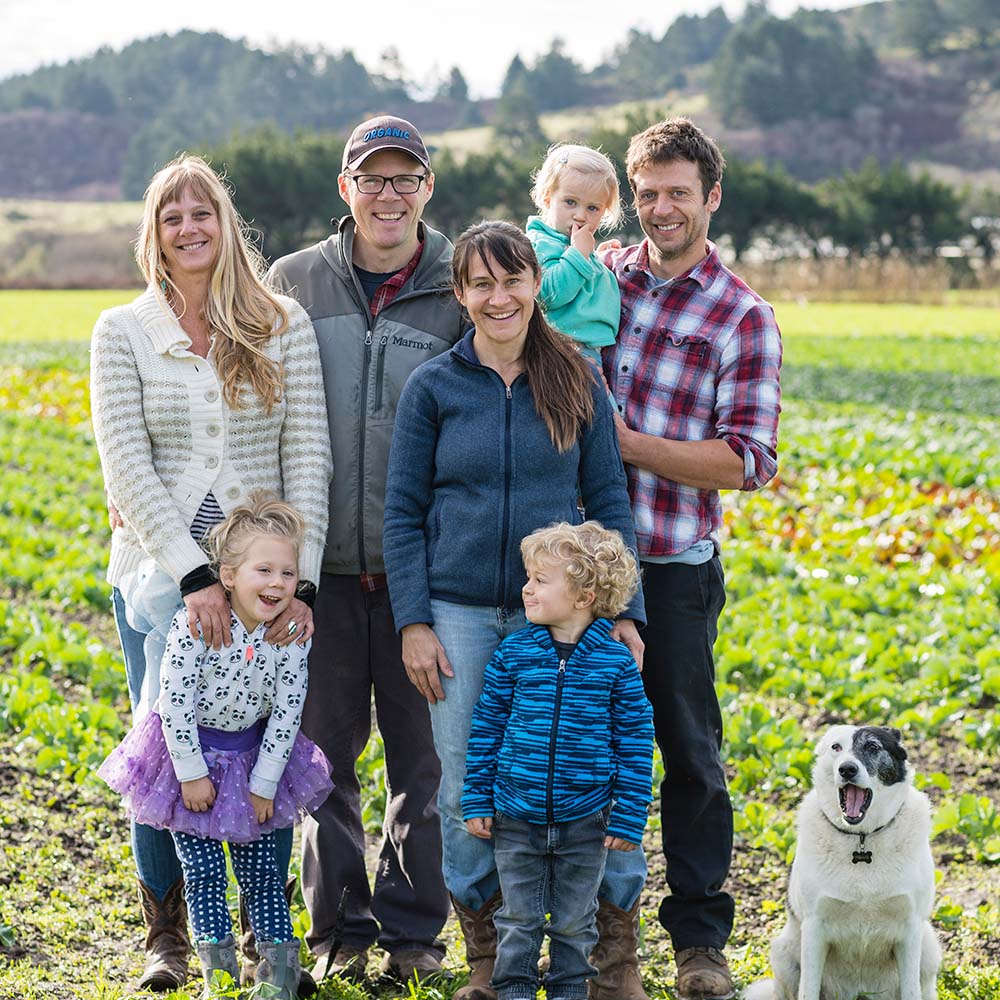

Support small family farms
Shop Now
We support small, family owned farms across the nation. Did you know that farmers only make an average of 10 cents on every dollar you spend at the supermarket? Working directly with farms and not middle men ensures that more money goes back to the people actually growning your food.